TriniTuner.com | Latest Event:


Moderator: 3ne2nr Mods

TriniGT wrote:So I haven't done that much since last time. I have kind of fixed the passenger side switch as after I repaired it it started to act up again but I think this time it may work but I am still after one. I also replaced the tailight bulbs as some of the double filament wedge bulbs were not working. So now I have a fully functional tailight setup, reverse lights too are functional. I already have my gearbox oil so this weekend I will be draining what is left of the gearbox oil and replacing it withsome Redline Smurf Blood.
My friend came and welded the leak, man the leak was in a really bad spot and was a poor job on the first garage that tackled the job. I could have seen straight into the car, nevertheless it looks to be fixed and after it was welded I got some caulk paste and smothered all the areas on the driverside to try and ensure that water would not get past it. It has been drying since Sunday so by the time Saturday comes it should be dry and hard so that I can apply some redoxide on it and then have the outer panel rewelded in place and that too will be treated with paste and allowed to dry and then redoxide applied again.
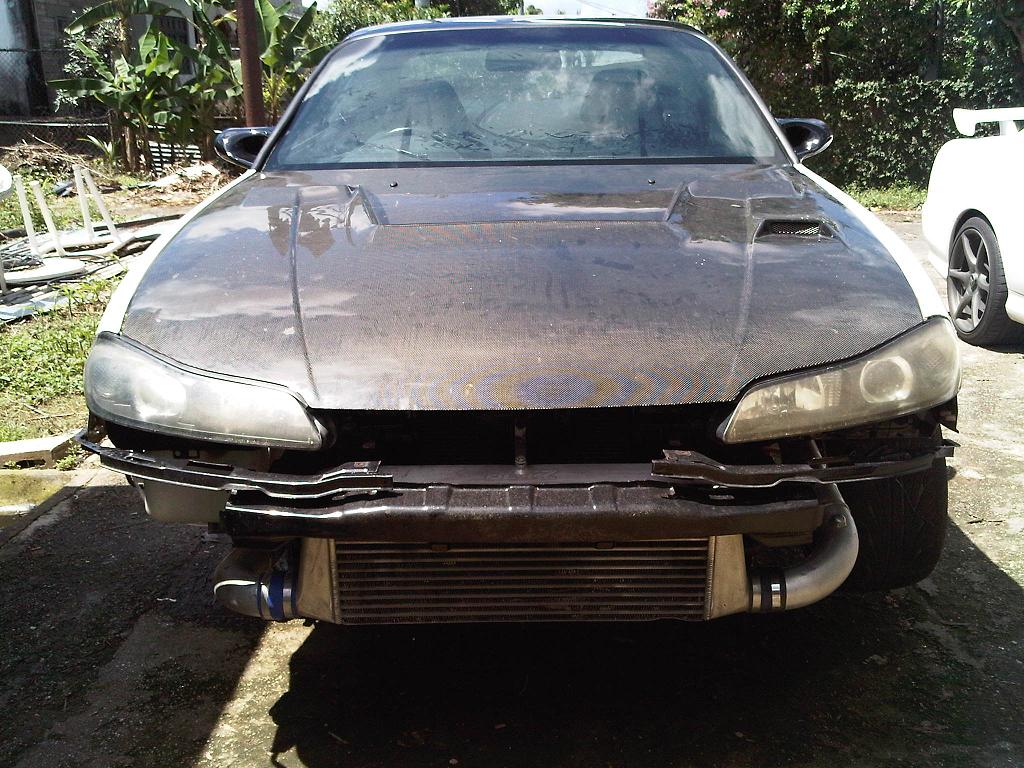
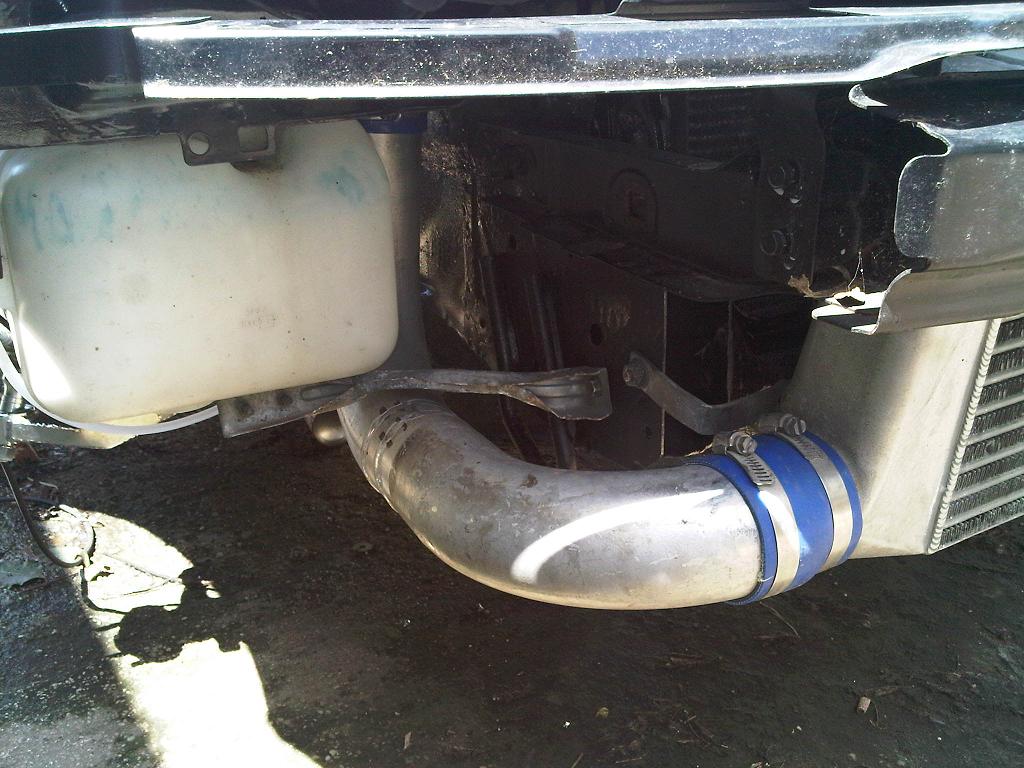
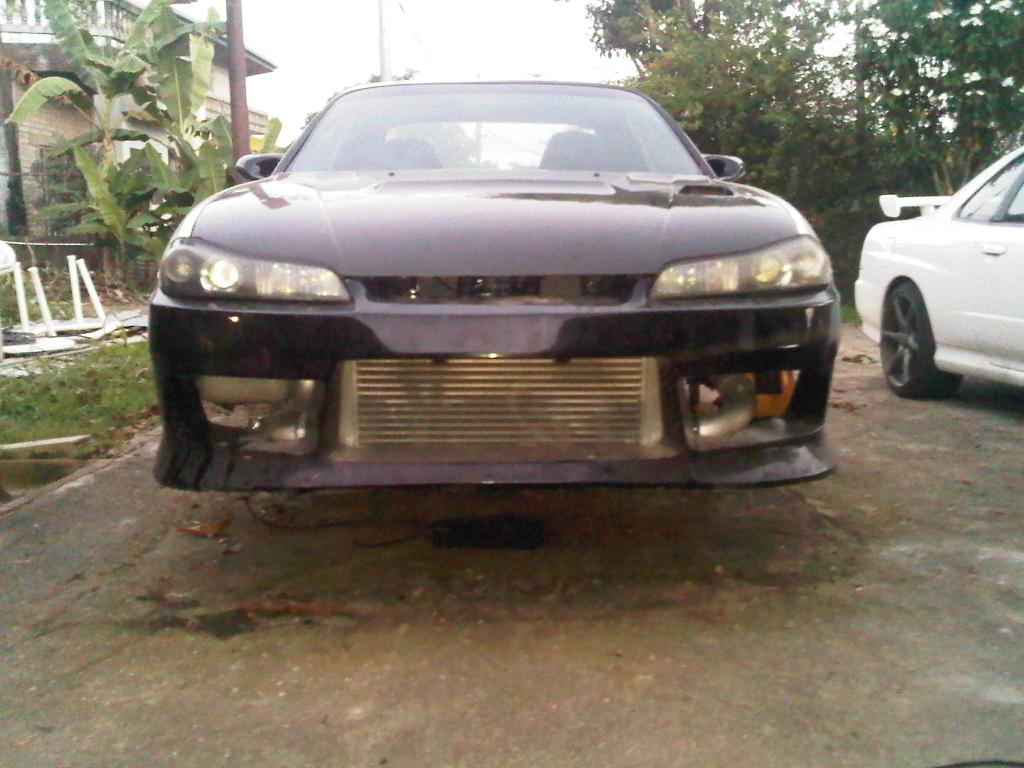
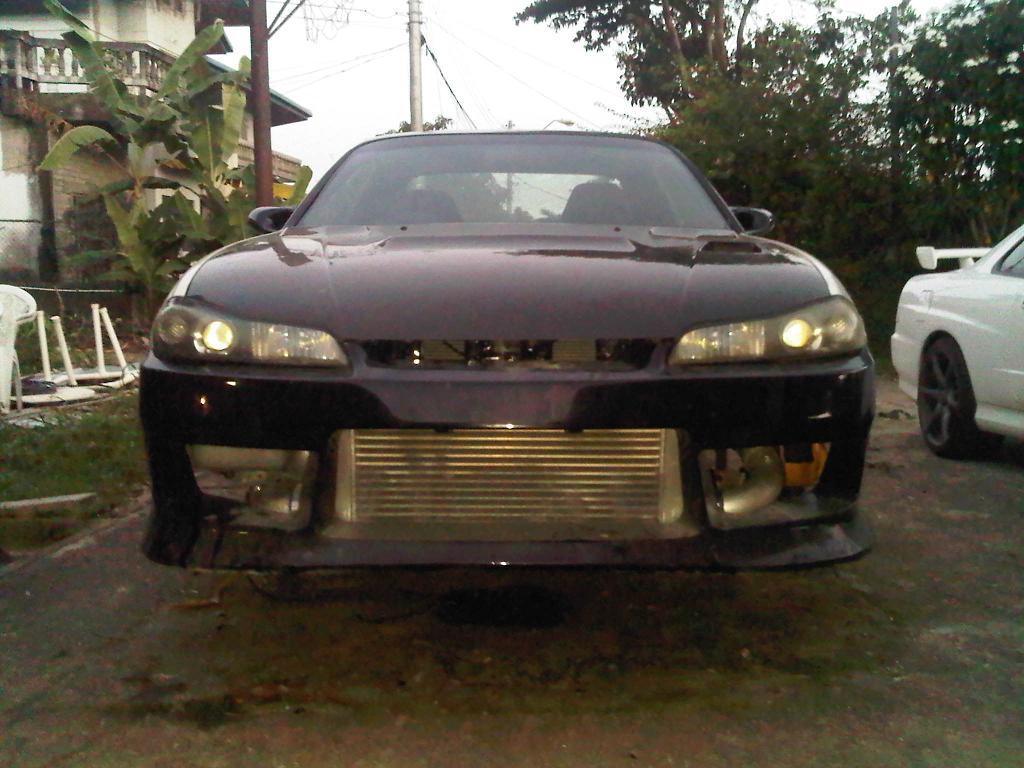
Once that is done I will get a fella to come and realign the front of the car with the carbon bonnet. Plan is to bolt the carbon bonnet and make sure it is straight and locking properly as the bonnet cannot be adjust. From there the fenders will be bolted and they will be adjusted to suit the bonnet's line. Once that is all done I will need to trim the front bumper to compensate for the Blitz FMIC as well as I will need to trim the S15 reinforcement bar that covers the FMIC setup to allow a proper flow of air to it. We will see how that progresses. I am going to do a final test on the leakign driver side and once that check out alright then I can rub back some of the surface ruston the flooring and prime and repaint it as water was settlign for some time in there. Then I will fit the brake pedal pin and refit all the rest of driverside interior and that should be it for the interior. For some reason the rear wiper is not working along with the rear water spray, I am not hearing the injector triggering at all for the sprayer, not sure why but I will have to troubleshoot the voltage going to the injector and see what is going on, shouldn't be too bad though. The wiper not working has me stumped but when I looked at the setup the connector is securely in place but there is a ground wire just hanging there, gonna further investigate this but problem is that I don't have any wiring info for the wiper setup as it is not in the FSM.
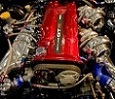
Other than those small items I have to get the brakes painted and installed and bled and all the suspension tightened up as I have some slack bolts underneath and then I need to get an exhaust installed on it and then I can set the car on the ground and adjust the stance. Then I will organize insurance and carry the car to the painter for a lick of paint. Oh I am gonna be removign the front windscreen again as I do not like how the universal molding is looking, a friend donated his old S15 molding to the car and I am gonna reuse it as it will have the glass fitting proper. When all this is done and the car is back from painting then I will add my touches like gauges, boost controller, Z32 MAF, power FC, wideband, change oil, oil cooler, oil filter relocator, Mishimoto Radiator and Black Mishimoto rad hoses, Aerocatch CF hood pins, stereo and the regassing of the A/C. Before paint as well I need to adjust the fenders to suit the wheels, maybe a slight fender roll in the back and a pull as well. I am still contemplating removing the center of the wheels (mesh area of the VS-XX) and having them stripped and chromed but I will have to think that over.


Users browsing this forum: sparta888 and 41 guests