So after a while of driving around with my system things got boring and i decided i wanted to try something different and build something REALLY LOUD but not make the car useless in the process. I wanted to do this on the cheap too so i decided I would use mostly things that i have already and work from there.
System Configuration:
Front Stage:
(4) Faital Pro 6FE200.......Pair Per Door
(2) Faital Pro 3FE20
(2) Arc Audio ACS230
(1) American Bass PH4100FR playing the tweeters and Faital 3"
(1) Rockford Fosgate Punch150 25 To Life Edition Playing the 4 6"
BassLine:
(2) Titanium Power SD-1255SPL
(2) American Bass PH4000MD
Current and Installation Accessories:
All OFC KnuKonceptz Speaker and Power Wiring
Xscorpion Fused and Distribution Blocks
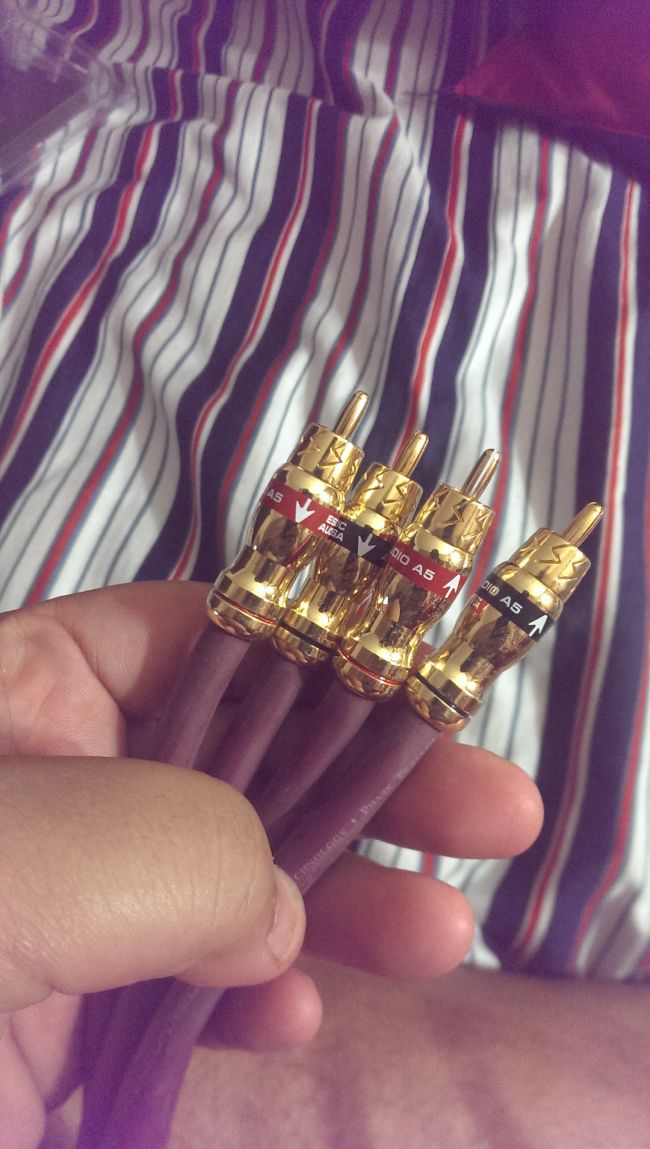
Esoteric Audio A5 RCA Cables
Streetwires Lugs
XS Power XP3000
All Installation work done by myself after classes.
First things first i wanted to the car to be loud but anyone that knows me will tell you that i really love the balanced sound of an SQ system and i have only ever heard about 3 gallery installs which sound somewhat to that effect. I wanted to sound like an SQ system but WAY louder. So looking over all the stuff I had I decided I had finally found a place to use those Faital Pro 3" that i bought a couple years ago when working at Kaizen and i needed to find a way to fit 4 6" Midbass upfront.
After doing some research i saw that there was this company called Jehnert out of Germany I believe that manufactures "door-boards" for the E90 BMW and thought that i would buy those but after hearing the $1200US pricetag it became a DIY project. So i ordered some 4 way stretch vinyl the color of the interior and went and bought some fiberglass cloth, some polyester resin, 2 cans of expanding foam, a quart of body filler and decided i was going to clone those.
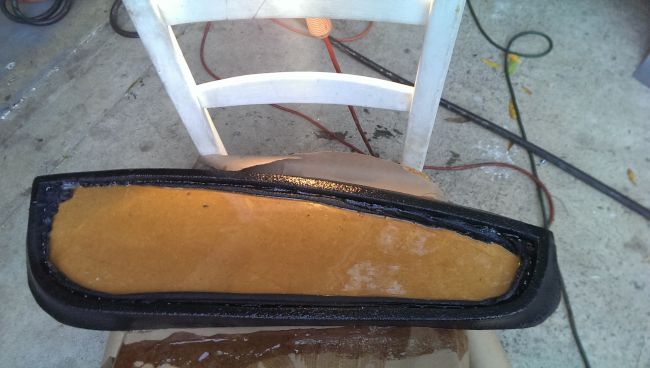
So i molded the door and then cut out a rough shape of what i thought it looked like and then cut out the center of that and glued it back in to make a space for my grill which im going to make later. Pulled an old tshirt across it and resined and glassed it.
Then i bodyworked the panels and covered them in the vinyl, worked great.
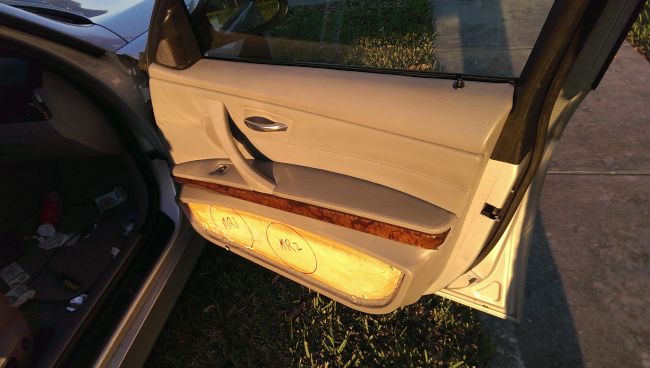
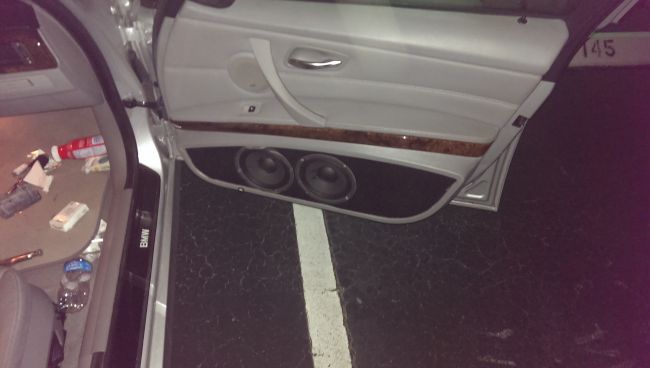
Then laid down some black carpet so the speakers can make a nice seal with the panel as well as for the aesthetics until i get the material to make the grills in the mail.
Then i started on the amp rack. I laid out all of the RCAs and Power Wires and got an idea where the amps were going to go. These are the RCAs I used. Super cool RCA Cables and they are directional too which i thought was very cool and interesting. No Noise Period and a dead silent Noise Floor.
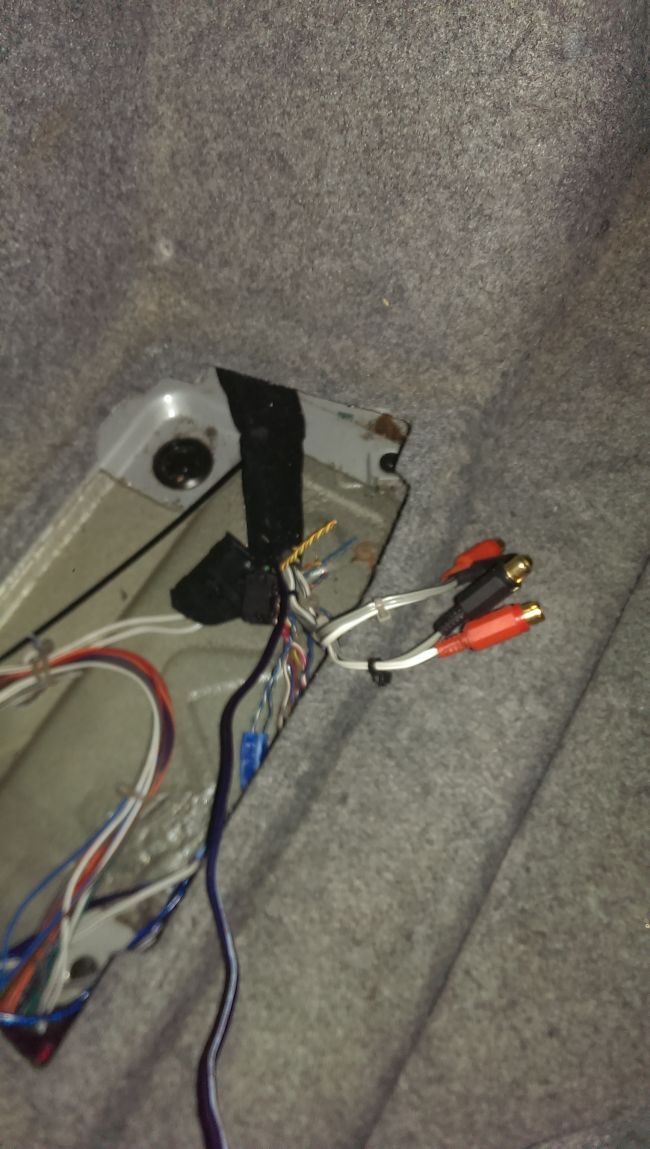
Then i tapped the Balanced Line Signal from the Unit and put some Female RCA ends on them which i bought from Centrex in Curepe. More than half the stuff in this car is from old systems in Trinidad, lol
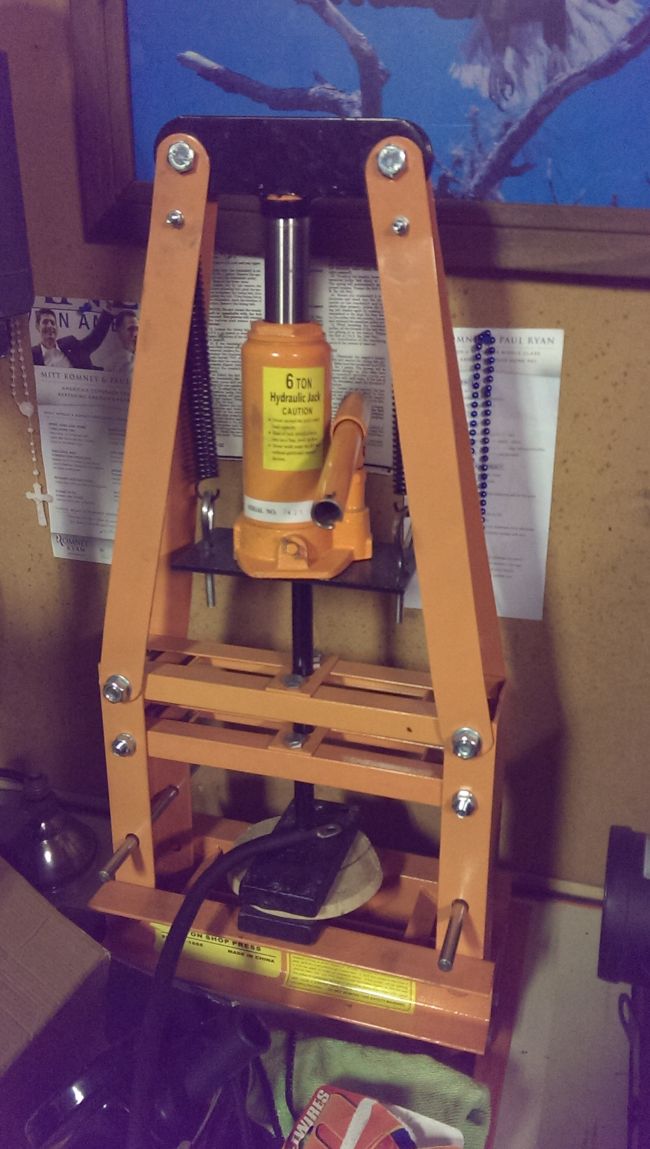
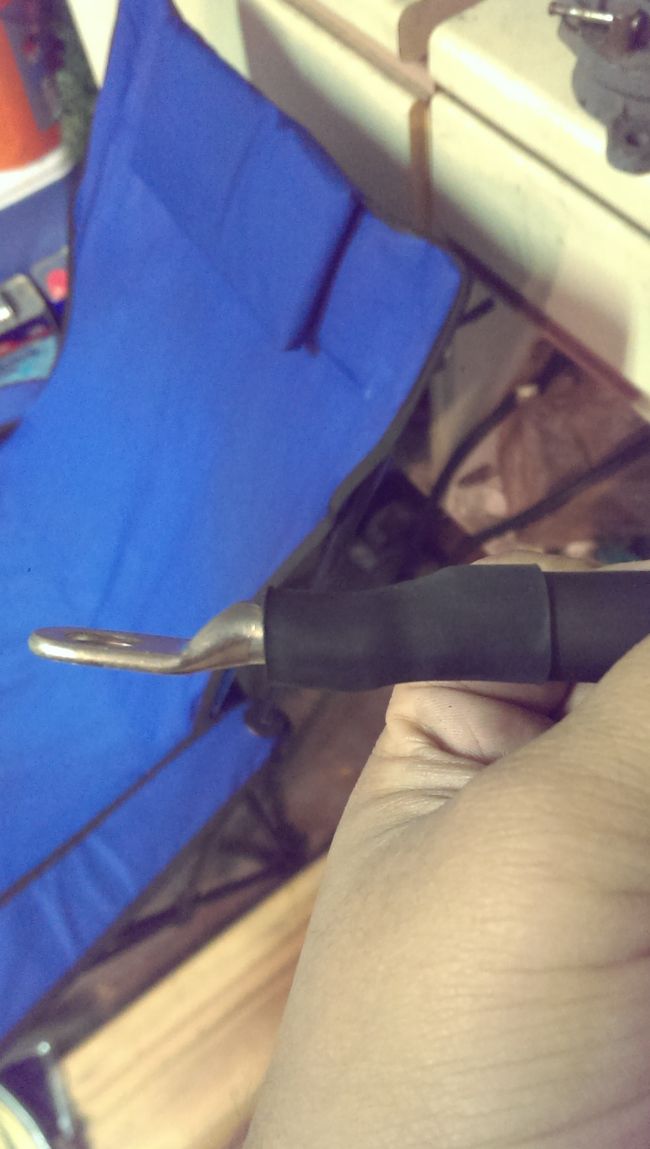
Then i crimped the Ring Terminals using a 6 Ton Hydraulic Press. Easiest Job of doing these ever. The terminal literally slipped under the jacket and on top of the wire inside. Then into the Press it went.
Squeeze the sheit out of it and then put some heatshrink on it.
Then i ran all of the RCA and power cables under the "amp rack" and secured them so i wont have to worry about stuff sliding and moving around or wires coming out. I used tons of wire clamps and zip ties.
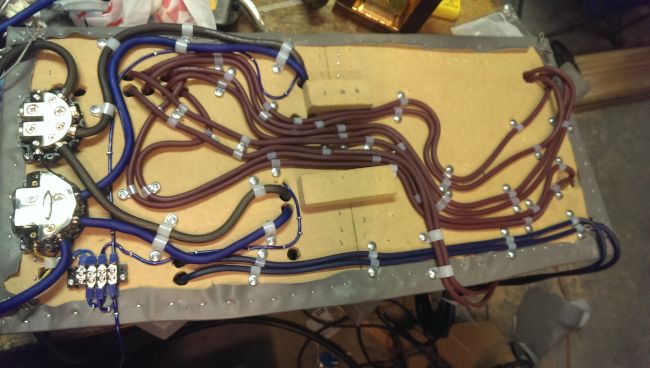
I used Barrier strips to connect all of the remote wires inputs and outputs. There are going to be 4 amps total in the system when its finished but i didnt have to use a seperate relay as the 3sixty.3 already has one built into it.
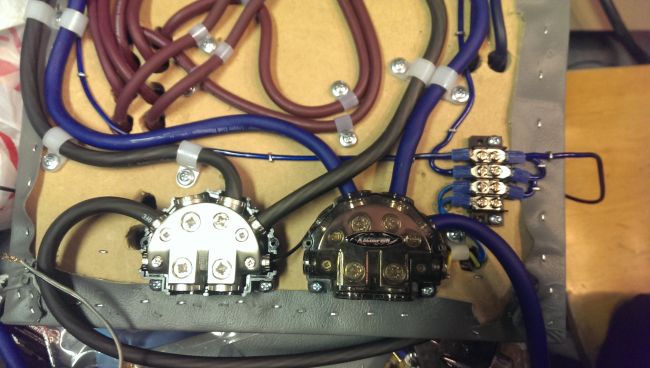
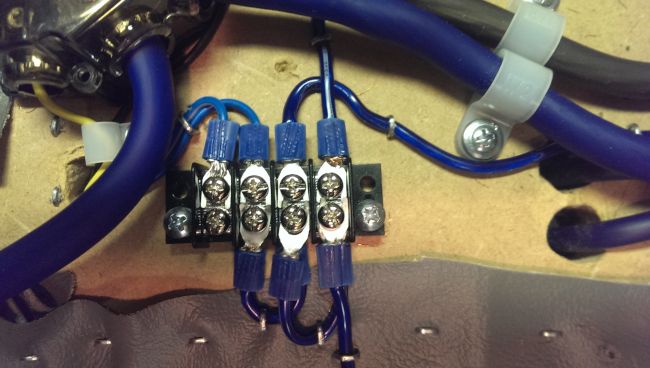
Proper Terminals Used for Everything as well. No shortcuts here.
Then after it was all wired i tie strapped all of the wires coming from into the cabin into their respective bundles.

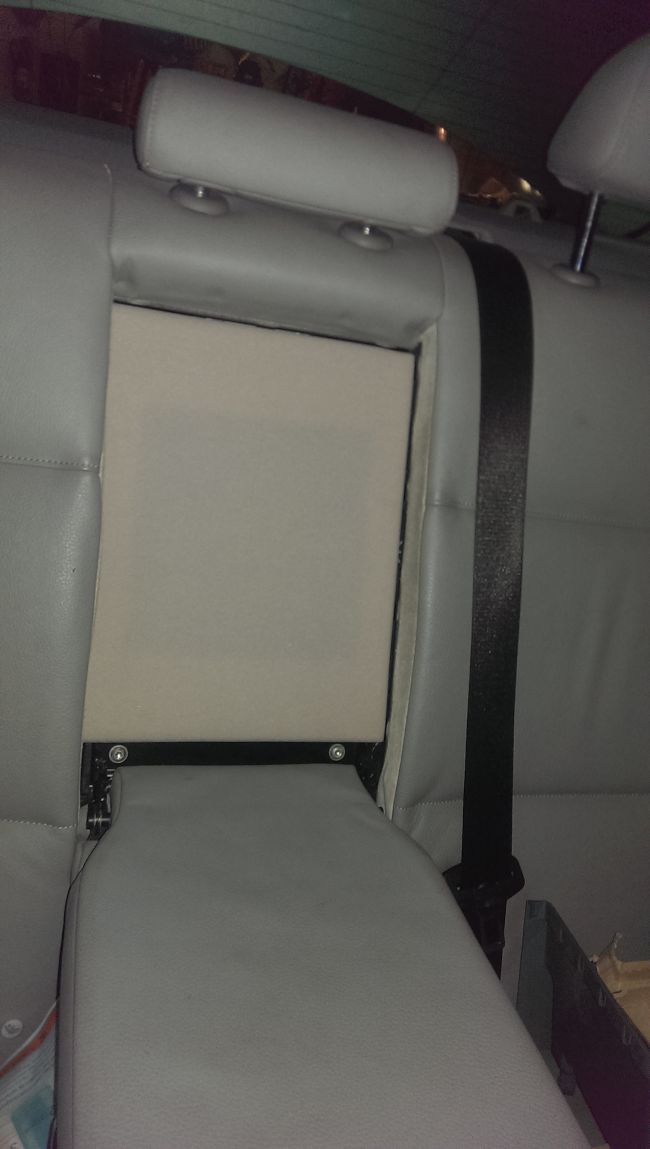
You can see the hole cut into the backseat in this pic. Trim panel is being built for that this weekend.
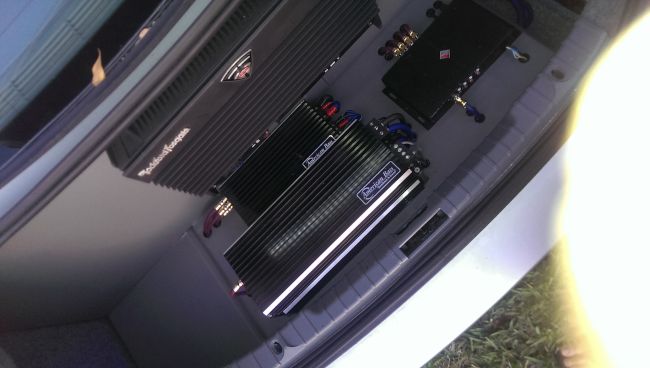
Then amp rack was placed into car and speaker wires and current wires connected.

.
That is not the final resting place of the Rockford Amplifier. It will be mounted perpendicular to the other amps on an amp rack of its own centered in the trunk. But i have to build the subboxes first in order to minimize error and wastage when i build that second amp rack.
First Impressions:
I have achieved my goals with the soundstage for sure. Right now the Faital Pro 6" are playing from 73-1kHZ with an 18db slope, the 3" are playing from 1kHZ to 7kHZ with a 24db slope, then the tweeters are playing from 7kHz on up. The car literally sounds like a component set on steroids. It has a ton of mid bass and its shocking how loud those little 3" Faitals are. At first it sounded very tinny and flat but after some adjustment on just the time alignment the sound became full and rich and i haven't heard of any mid basses that kick like in my whether in an SQ or gallery car. I learned a ton from this install, but i will share later when i get some more time.
***********************************************************
Ok So i have more pics and more progress made.
So i went to the local home depot and i got the pieces for the box cut up. Well most of them. The box is a weird shape. I designed it with a notch in it so it is 13" high from the front of the car going back 5" to clear the backdash and strut tower rear bracing in this car. Then it is 15" high going back. I could have made it 17" but it would never get into the car. As it is right now. It takes 4 guys and one girl pushing and tugging to get them in. Fits like a glove though.
Each box is ~2.0 cubic feet tuned to 33Hz. Volume is lower and port tuning is kinda higher than i am normally accustomed to, but it does drop decently low and is LOUD on just the single mono @ 0.5 ohm. FS on the speaker is 55Hz. I know people like to talk about tuning lower than FS. I tuned this sub to 28Hz before and it was the dreadest lows ive ever heard in my life.
Post box build backseat status.

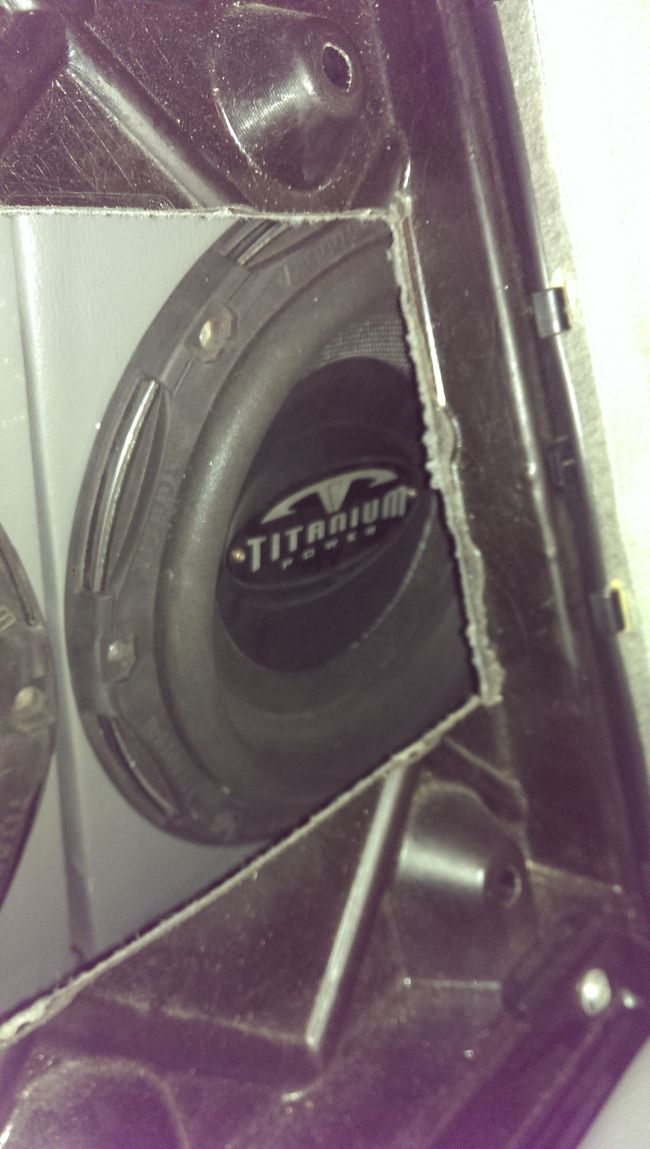
This is the view from the hole i cut in the backseat. I may have to make this bigger. It was this way since i had the 1 12" in there.
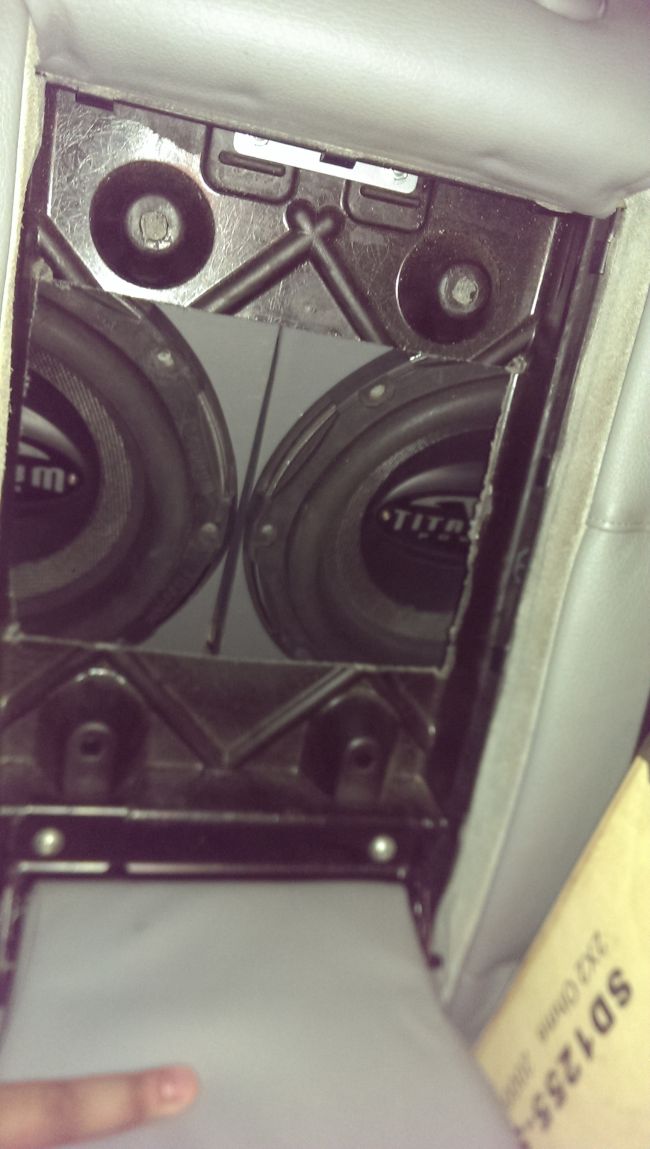
There is like three quarters of an inch between the top of the sub backseat. It never touches and the box cannot go further in so it will never touch and cause damage to the suspension.
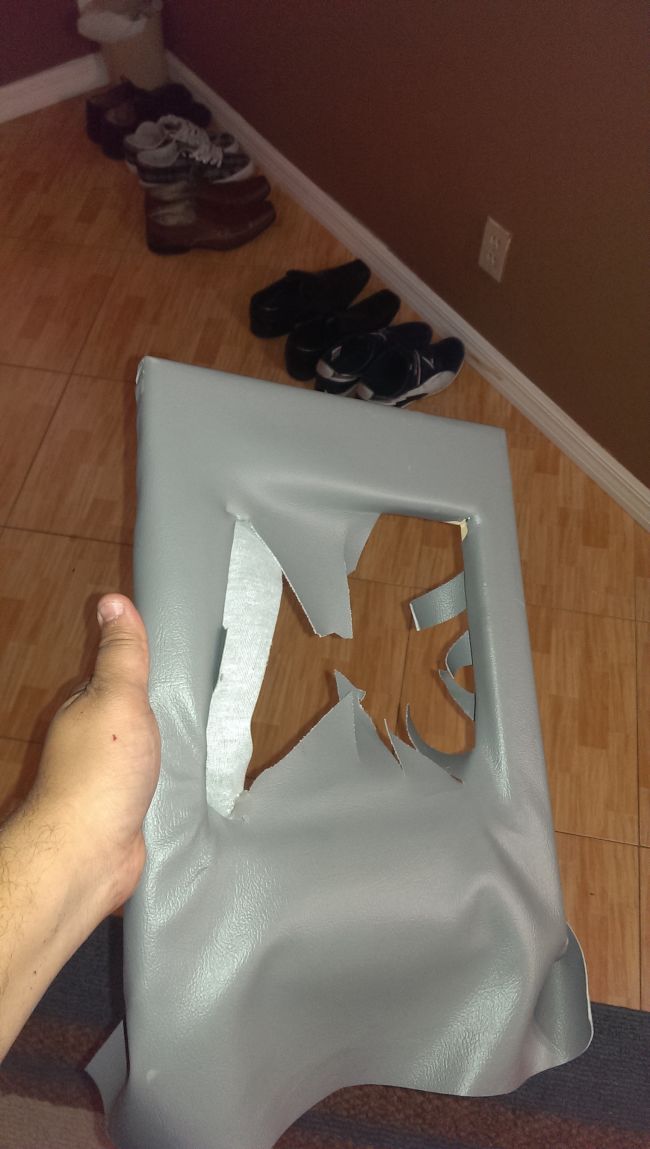
This is the trim piece i made for the arm rest fold down to cover the edges exposed from cutting the whole. While wrapping it the damn corner on the side ripped and i just got rell fedup and ripped all the leather off of it cuz i got frustrated. I will try again tomorrow with a clear head and see whats up.
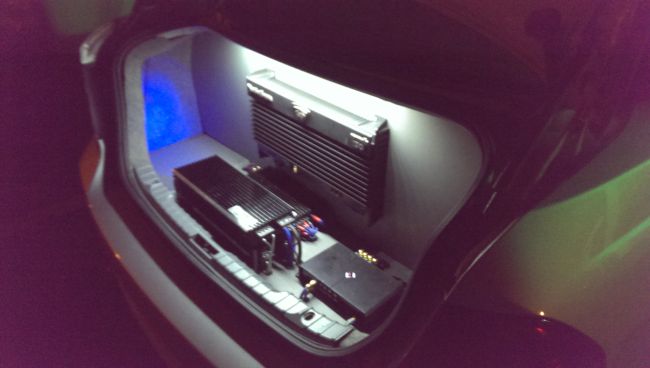
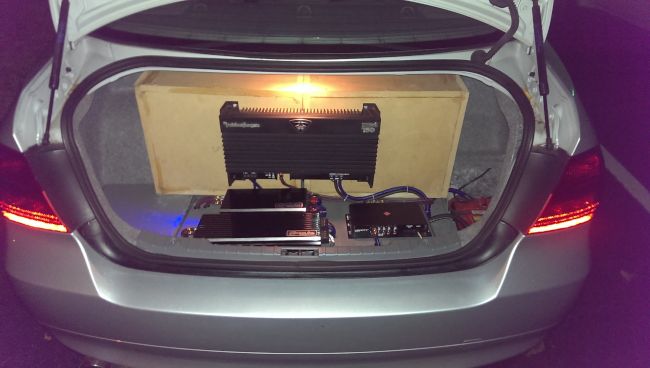
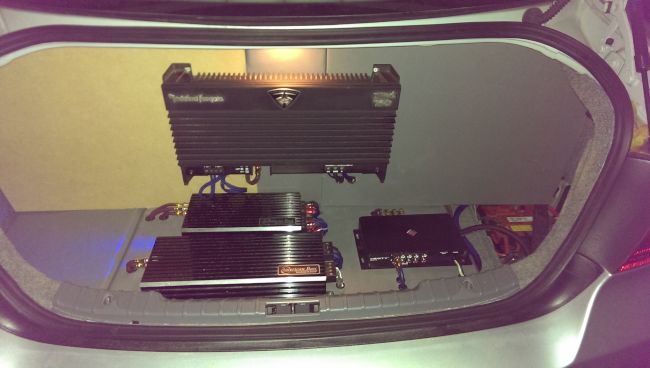
This is what the trunk looks like currently. All the wiring is exposed in this picture because i have yet to make the trim panels for the install. I wanted to get that second bass amp in and mounted so that when time comes everything fits like it should and i don't have to take things in and out making room for things to get scratched up. As it sits nothing is permanently mounted except the center trunk trim piece with the american bass amps and rockford processor.

I want to try and make some more progress this week, but i have a philosophy paper due on friday, a circuits exam on thursday, and Saturday im having a birthday party so we'll see where the BMW fit in that week.
**********************************************************************************************
Okay so class got cancelled today and i run to try and do some more on the build!
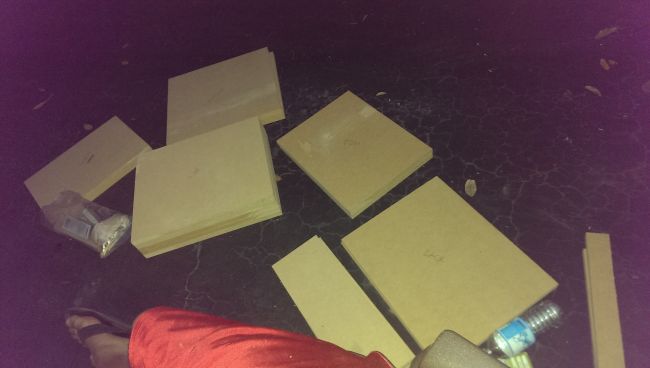
I decided i going to try and make some of the trim panelling as i dont really have much else that i can do until the rest of the leatherette gets here and until the batteries get here. So i cut up some panels out of 3/4" MDF that would fit flush with either side of the trunk and go up high enough that you wouldnt see the space between the backdash and the panel itself.
Piece in the center was an extra piece i had leftover from the box. Perfect width not so much height.
Once all that was cut up, and I attached all of the pieces together and also mocked up the amp where it is supposed to sit. Then i attached all of the pieces from the front side so i can go about the next step.
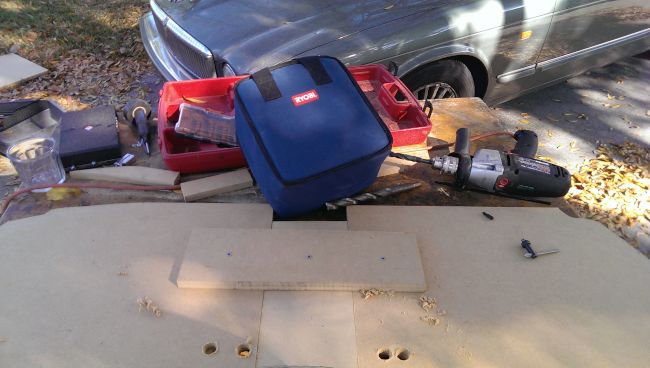

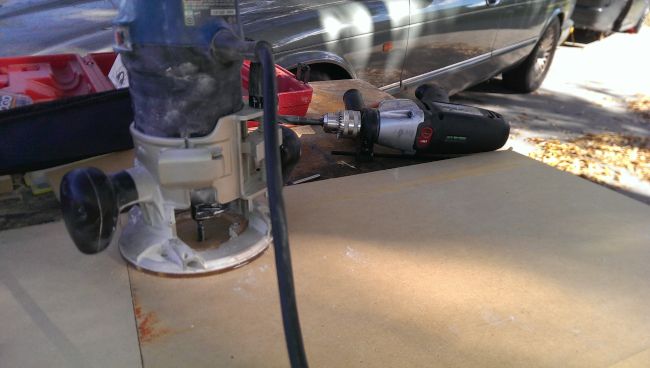
Then i got the router out so i would be able to cut a trace in the MDF that was 3/8" of an inch deep and wide enough to house the Current Wires, the RCA Cables, and the Speaker Cables separately. This was done so that the amprack for the rockford could lay flat against the subboxes without pinching the wiring.
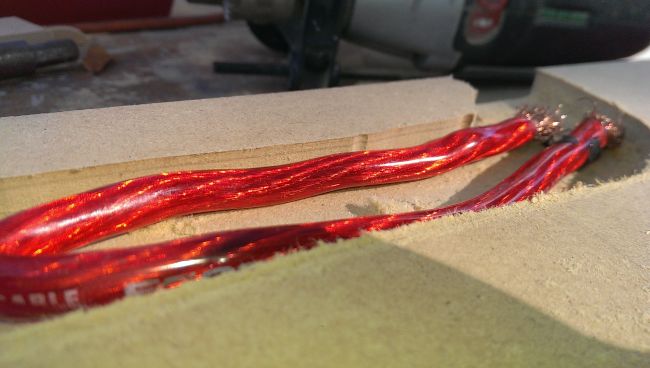
This is just so you guys can get an idea of what is supposed to look like because i wont be able to photograph how they lay behind these panels
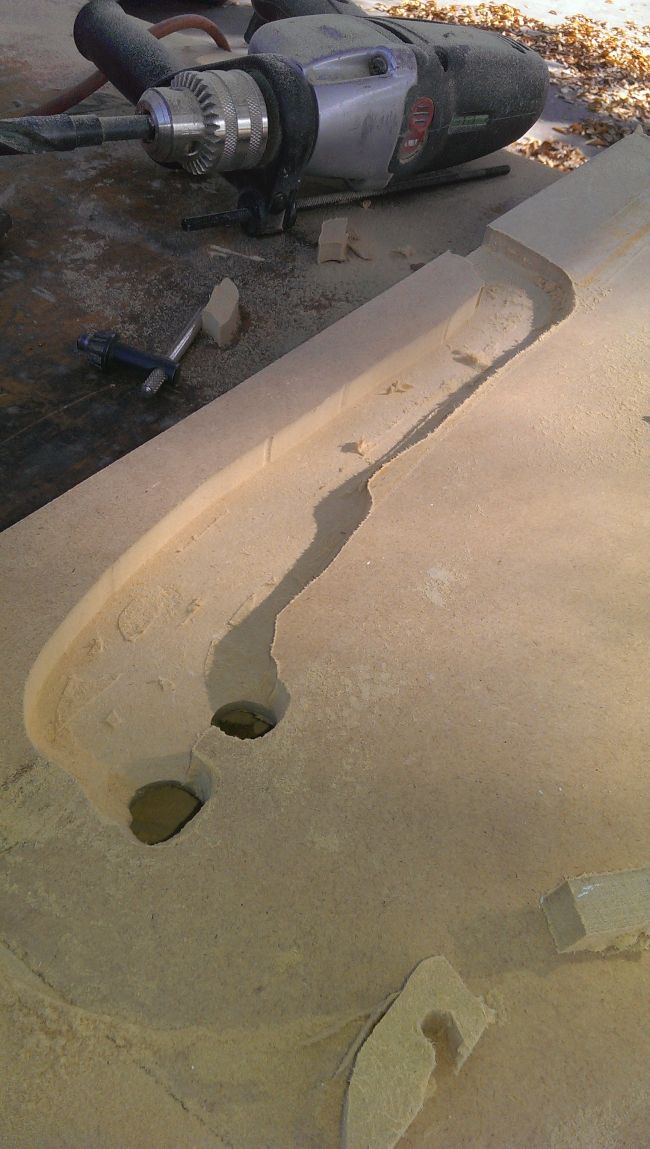
All Done.
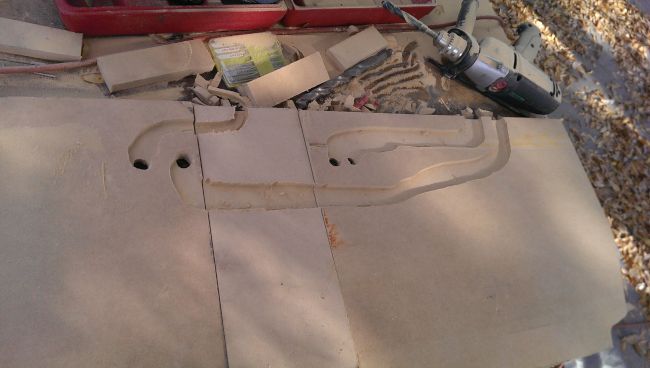
You can see i still have plenty meat for support. The trace is only halfway deep. Just deep enough for the wiring.
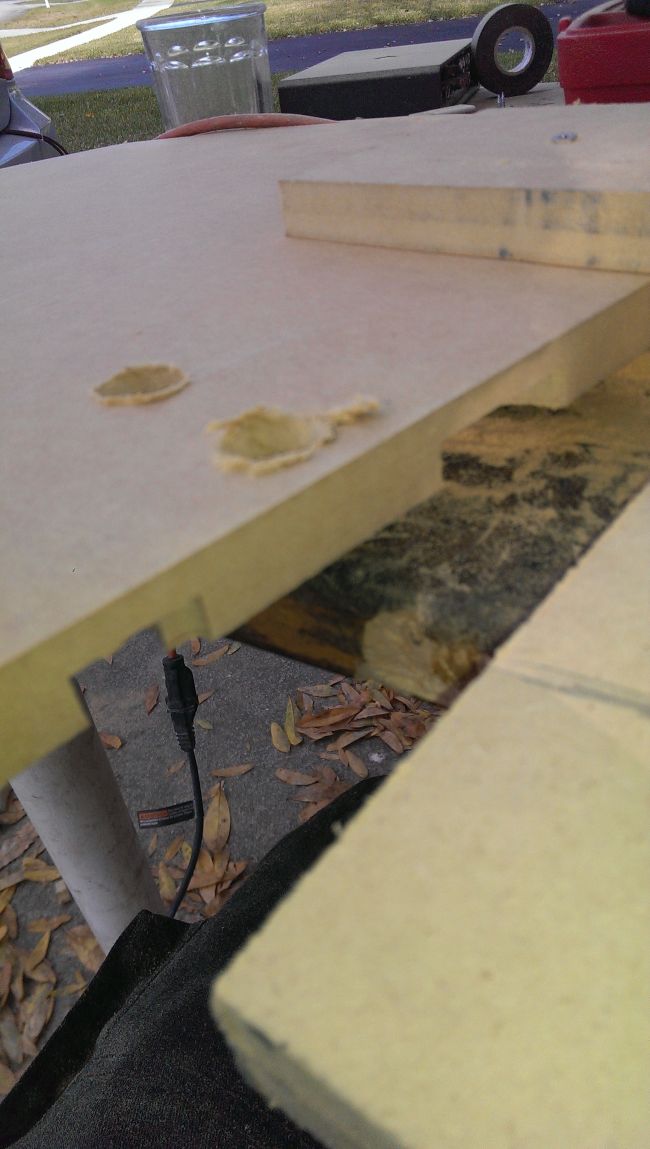
This was the only shot i could have gotten with the wire fitment.

Then i covered the pieces with what grey leatherette i had from the first batch. This matches the stock interior of the car exactly.
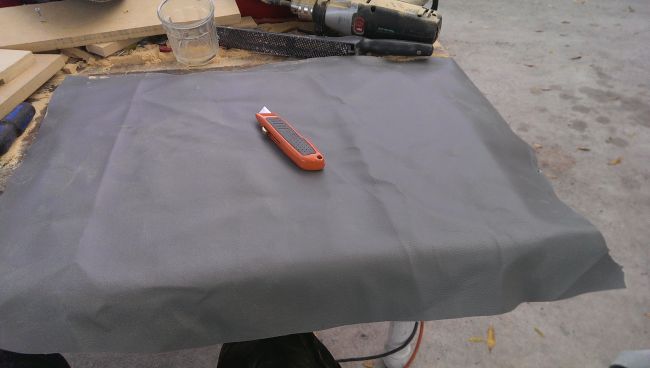
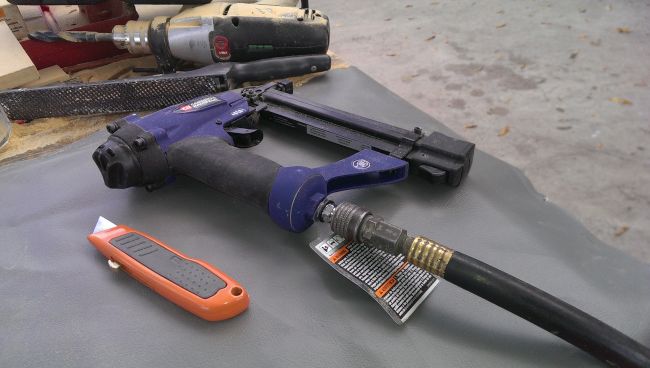
One of the Most Important tools in an installers toolbox.
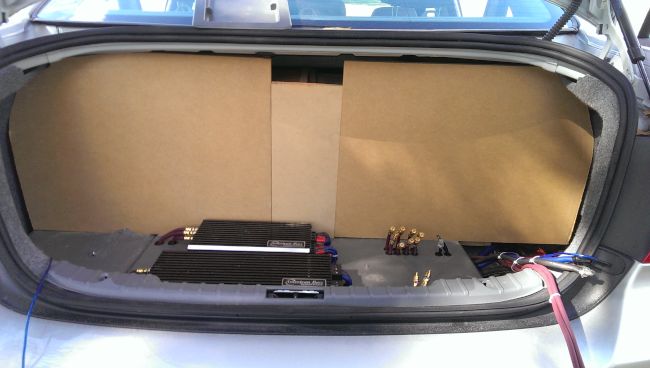
And this is what it looks like now. I have to wait until the second order of leatherette arrives. I ordered that since last monday along with some new door panel clips and they both have yet to arrive. Kinda pissing me off but whatever. In this photo, everything that is upholstered is here to stay and everything not yet upholstered will be as soon as i get the material.
The next task on the list is to fabricate that right hand side trim panel which covers the battery because i have to make a huge bend in the MDF. I am going to do this in a method not many car audio installer use. my dad is a very skilled professional carpenter and this one, as well as a few other tricks i learned around the shop, allows one to bend a solid piece of MDF with absolutely no KERF cuts. Meaning it is stronger, less likely to break while working with it, and also just plain cool. More on that progress maybe end of the week or next week when i get more time to work on this bad boy.
***************************************
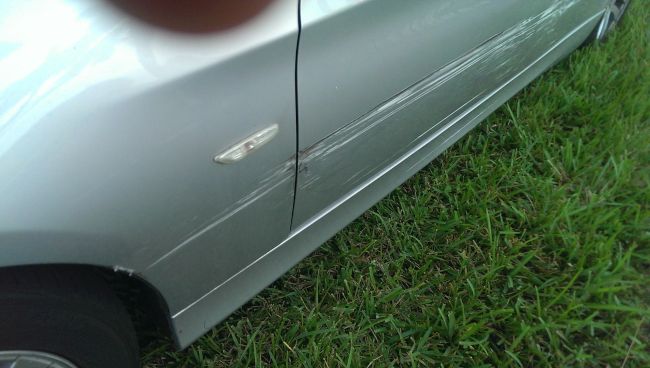
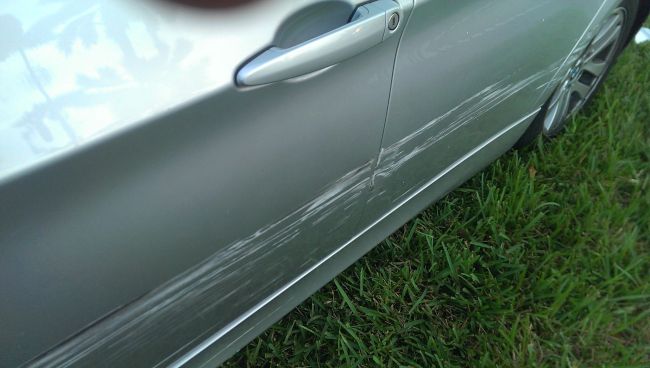
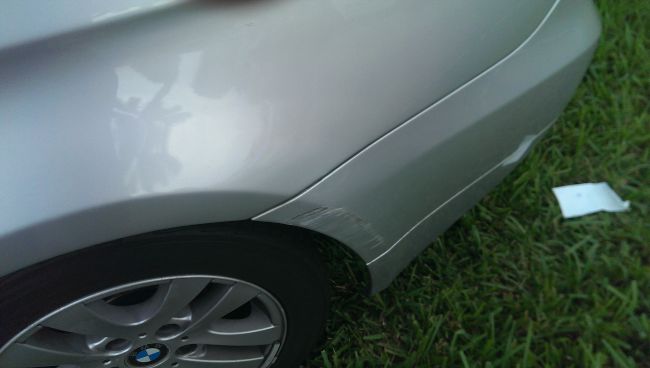
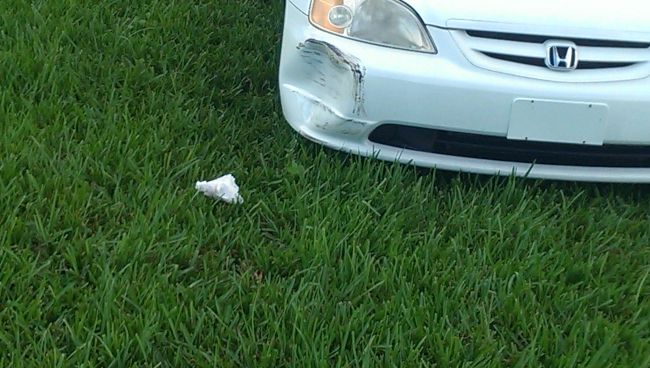
So I was planning to do more work in the car over the weekend that passed but on my birthday last Friday a man in a civic run a 4way stop sign and sideswipe the whole side of the car. After the up and down with the police department to get a police report, getting the inspection done on the vehicle and so on I got absolutely no time to do any kind of work on the install. All I got time to do was install the 2nd mono and LED lights, and rewrap that panel between the seats. I hate working on the car when it damage like this so im gonna wait until it gets painted over before i start to finish up the install. He is saying that he was in the right as well so that is dragging on the process a lot longer than it is supposed to take. According to the insurance there is $2000+ in damages to the car and it is uncertain if they will pay considering the circumstances of who is wrong.
Anyways i getting to the fed up point now with the car so i going to give it a break until it is fixed.